I’m sure that in the near future, development for BC will not be tied to Windows machines, so I’m working on alternative development platforms. There are a few missing pieces at the moment, but I think that this will improve over time.
My home machine is an older iMac that is only used for photography, so I thought that it would be perfect for my first go at an alternative setup.
Some of the setups are just like Windows, but I’m going to go from beginning to end.
What do you need ?
- Chrome. I use Chrome for all browsing and development and is my default browser on both my iMac and Windows machine. I have not tested this with Safari or other browsers.
- A BC tenant with a Sandbox. I created a new one from https://trials.dynamics.com/
- An Atlassian ID and Bitbucket.org cloud account so you can install Sourcetree. I first heard about this from reading this blog post from @gunnargestsson. You can get this from https://bitbucket.org
Show all files
macOS has its roots in Unix and by default Finder will not show dot files or dot directories as these are reserved for settings in the Unix world. This is an issue for a BC developer as folders like .vscode or .alpackages are not shown by default. So we have to change it.
- Open Terminal to get to a shell and enter the command to change the environment variable required.
defaults write com.apple.finder AppleShowAllFiles YES
- Open Finder and select Force Quit Finder.
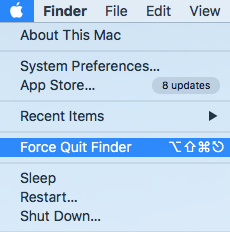
- Then select Finder and Relaunch.

VS Code
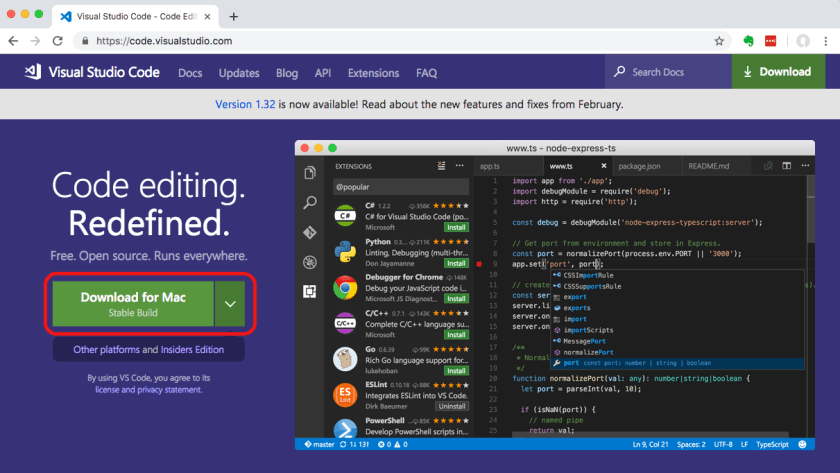
Now we need our IDE. And we are fortunate that there is an install available for macOS.
- Go to https://code.visualstudio.com/ and download the latest stable build.
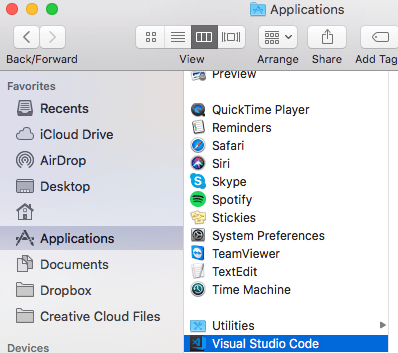
- Unzip the file and move it to the Applications folder.
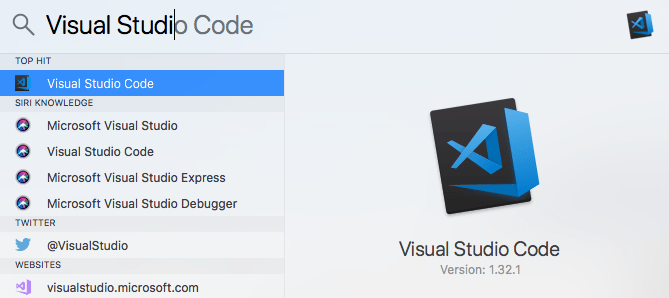
- You can now search for Visual Studio Code in Spotlight. Open it and select the option to Keep In Dock so you can get to it quickly later
- In VS Code open the Extension Marketplace by pressing Cmd+Shift+X and search for AL Extension to install it.
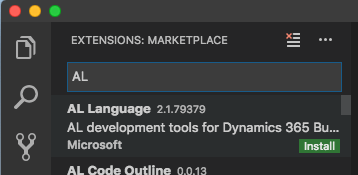
- Close and Reopen VS Code so that it loads the AL Extension.
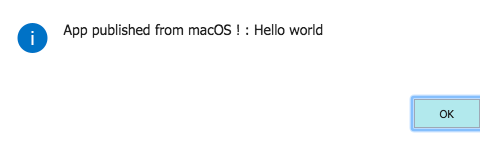
- Open the Command Palate by selecting Cmd+Shift+P and select AL:Go! to create a Hello World Project.
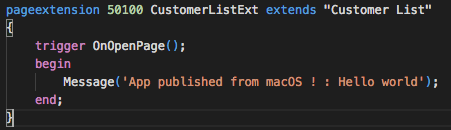
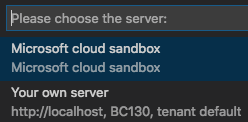
- Press F5 to Publish to and select Microsoft cloud Sandbox. Keep reading for some issues at the end of the post.
- Next VS Code will authenticate with your Sandbox. If your credentials are not cached a prompt is displayed and you can select Copy and Open to open a browser and copy the authentication code.
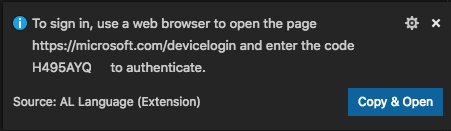
- If your credentials are cached the Debug Console will give you a URL and code to manually put into the browser

- Either way enter the code that VS Code gives you to authenticate
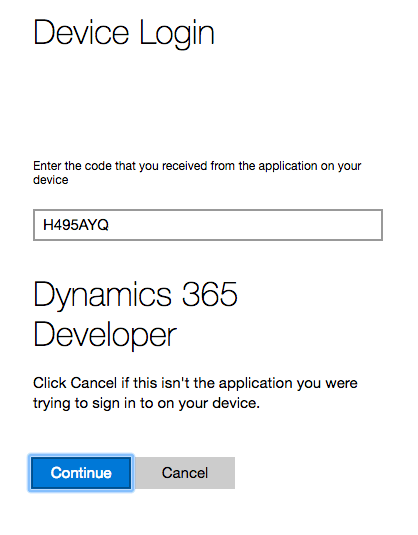
- Next you need to login to the BC Sandbox
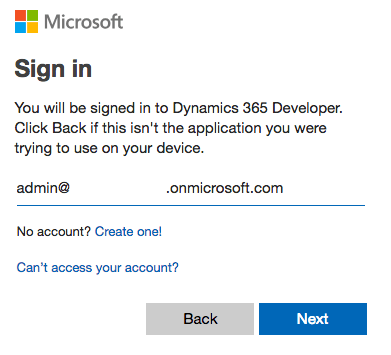
- And we have an Extension on macOS!
Sourcetree
Again we are fortunate that Atlassian also release a version for macOS
- Download the latest build from https://www.sourcetreeapp.com/
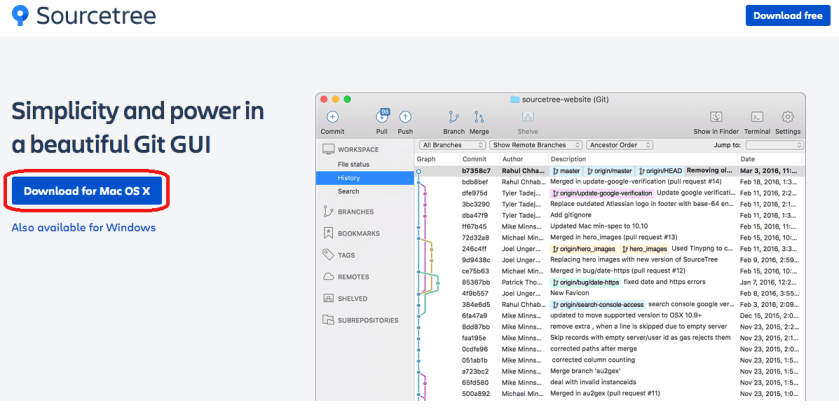
- Unzip the app and put it in the Applications folder, search for it in Spotlight, open it and select the Keep in Dock option so you can get to it quickly later.
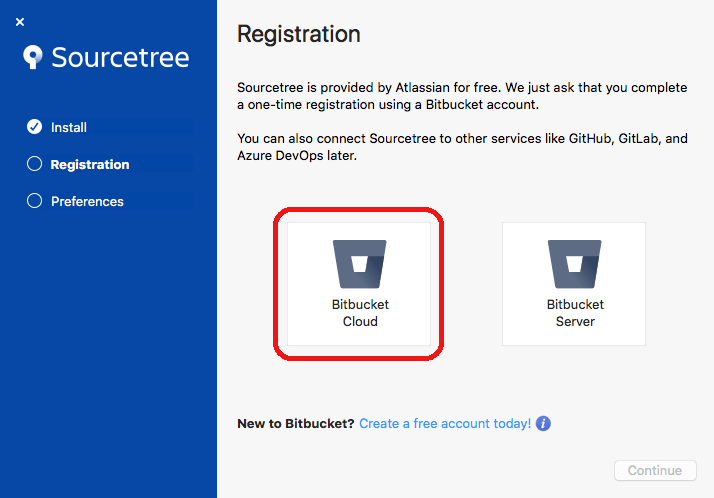
- When installing you need to have your Atlassian ID that you created for a Bitbucket cloud setup. Select the Bitbucket Cloud option and follow the bouncing ball to register
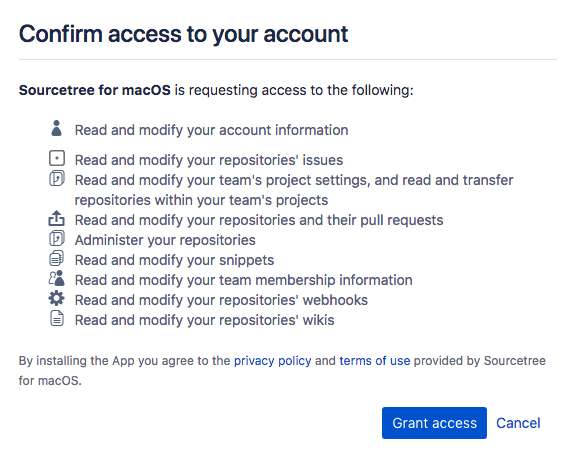
- You will also need to allow macOS to have access to your Bitbucket account.
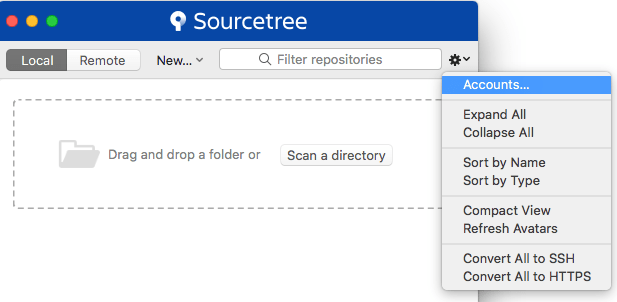
- Since GitHub is allowing unlimited free private repositories these days, I’m going to put all of my blog and private code there. To do this you need to change your account setup in Sourcetree
- Go to the Settings icon and select Accounts.
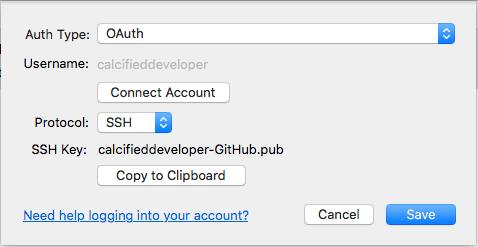
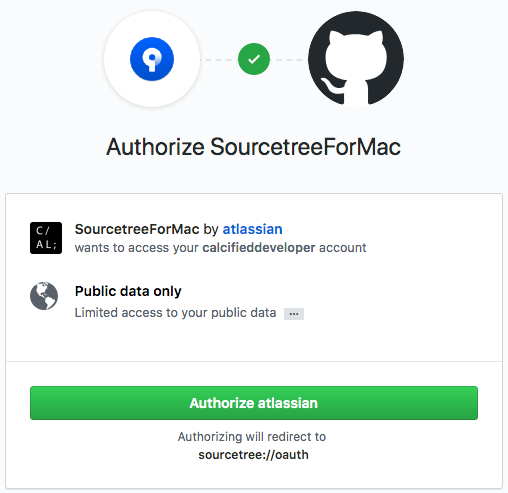
- Delete the Bitbucket setup the the installer puts in and add a new server for Git Hub. I selected OAuth as the Auth Type and SSH as the Protocol. Use the buttons to generate a SSH Key and copy it to your clipboard for later. Lastly, select the button to Connect Account to get the OAuth access to your GitHub account.
- In the browser select Authorize atlassian
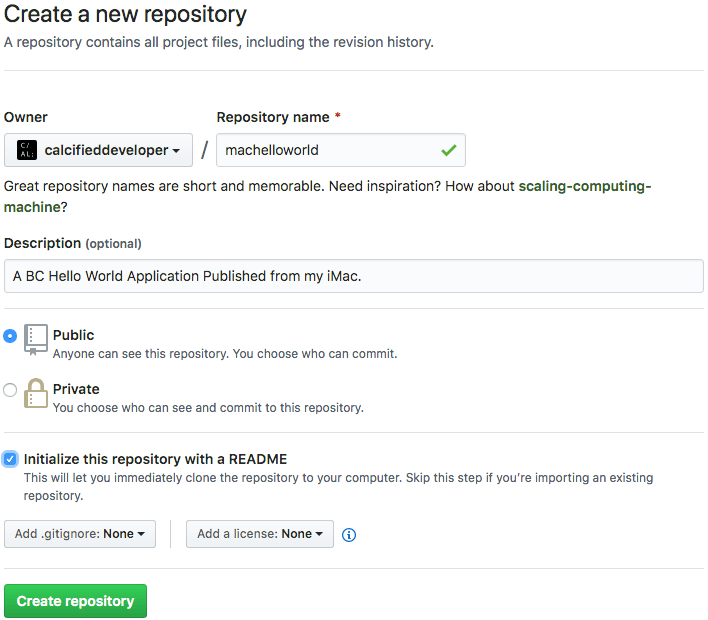
- Login to GitHub and go to account settings, SSH and GPG Keys. Paste in the SSH Key that was generated in the previous step.

- To create a repository do it from the GitHub site
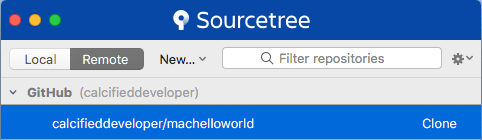
- Sourcetree can now see my remote repository
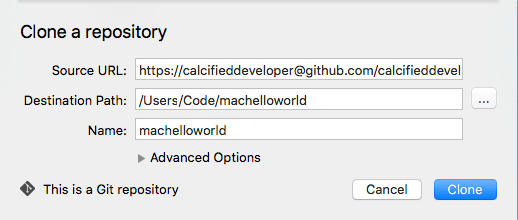
- I can now clone it to a local drive and put it into some files into it and commit it with Sourcetree.
What’s wrong with it ?
- Well this works for me. On Windows or macOS I prefer to get the extension fleshed out before I commit anything. This may not work for you.
- The obvious one is an RDLC editor. I cannot find any open source projects or VS Code extensions that will edit the RDLC, so reports are going to have to stay on Windows for now.
- Shortcuts are a bit annoying. F7 to F12 on my Mac keyboard are bound to things like Back and Volume controls. So you need to use the menu with setting breakpoints or debugging code. This will take a bit of getting used to.
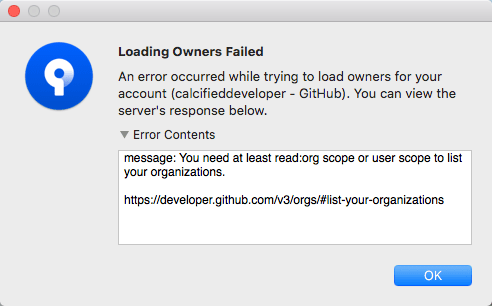
- I had an issues creating a repository on GitHub directly from Sourcetree. Something about my organization that I’m not sure where it comes from. For now I’m happy to do setup on GitHub and then clone.
- Using HTTPS as the protocol to connect to GitHub did not work when I needed to Push from Sourcetree to my remote repository I kept on getting 403 errors. I did some googling and found that it might be a GitHub thing, but changing to use SSH worked for me
